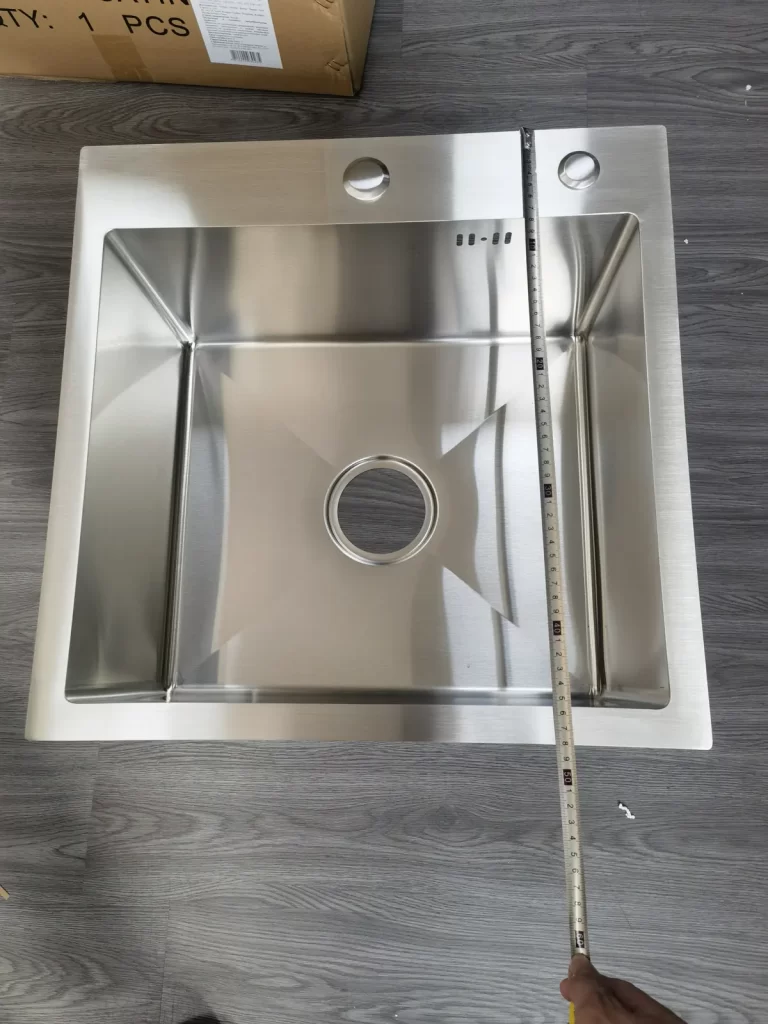


A kitchen sink leak is more than just a nuisance – it can lead to costly water damage and disrupt your business operations. Quick action is essential. While professional plumbing services are always an option, many minor leaks can be easily addressed with the right tools and a bit of know-how. This guide provides a practical approach to identifying and resolving common under-sink leaks, highlighting the value of investing in a best kitchen sink and appropriate accessories for long-term reliability.
Sink Mats: Protect Your Investment: Prevent Sink Leaks!
Don’t let a small leak turn into a major expense!
Sink Tidy: Leak Detection 101: Identifying the Problem Area
Before diving in, accurate diagnosis is key. Here’s how to pinpoint the source of the leak:
- Faucet Check: Inspect the faucet spout and handles for drips. Worn O-rings or cartridges are often the culprits.
- Supply Line Assessment: Examine the flexible supply lines connecting the faucet to the water supply. Look for any signs of damage, such as cracks, kinks, or loose connections.
- Drain Pipe Inspection: Carefully inspect the drain pipes, including the P-trap and tailpiece, for leaks at joints or cracks in the pipe material.
- Connection Check: Tighten any loose connections with a suitable wrench. This may be all that’s needed to resolve the leak.
- Corrosion Awareness: Corrosion can weaken plumbing components, leading to leaks. Replace any parts showing signs of rust or mineral buildup.
Prep Sink: Essential Tools for Efficient Leak Repair
Having the right tools readily available will streamline the repair process and minimize downtime:
- Adjustable Wrench: For tightening and loosening nuts and fittings.
- Channel-Lock Pliers: For gripping pipes and fittings securely.
- Plumber’s Tape (PTFE Tape): For creating watertight seals on threaded connections.
- Basin Wrench: A specialized tool for accessing hard-to-reach faucet nuts.
- Bucket and Towels: To contain water and facilitate cleanup.
- Replacement Parts: Keep a selection of common replacement parts, such as O-rings, cartridges, and supply lines, on hand for quick repairs.
Black Undermount Sink: Step-by-Step Leak Repair Guide: Practical Solutions
Let’s address the most common leak scenarios:
- Leaky Faucet Spout: Replace the worn O-rings or cartridge within the faucet. These are typically readily available and straightforward to install.
- Leaky Faucet Handles: Tighten the packing nut or replace the O-rings or cartridges associated with the handles.
- Leaky Supply Line Connection: Attempt to tighten the connection. If the leak persists, wrap the threads with plumber’s tape before reconnecting. Replace the supply line if damaged.
- Leaky Drain Pipe Joint: Disconnect the joint, clean the threads, and apply fresh plumber’s tape. Reconnect and tighten securely. Replace any cracked pipes.
- Leaky P-Trap: Remove the P-trap, clean thoroughly, and reinstall with new slip joint washers. Ensure tight connections.
Proactive Maintenance: Preventing Future Leaks
Preventative measures are key to minimizing disruptions and costs:
- Regular Inspections: Conduct routine inspections under the sink to identify potential problems early.
- Avoid Over-Tightening: Excessive tightening can damage fittings and pipes.
- Replace Aging Components: Proactively replace any parts showing signs of wear or corrosion.
- Utilize Sink Mats: Sink mats offer valuable protection against scratches and impact damage that can ultimately lead to leaks.
- Invest in Quality Products: Selecting a best kitchen sink and high-quality plumbing components ensures long-term reliability and minimizes the risk of leaks.
Conclusion:
Addressing under-sink leaks promptly and effectively is crucial for maintaining a smooth-running business. By implementing the practical strategies outlined above, you can minimize downtime and protect your investment. Considering an upgrade to a durable and stylish black undermount sink? Contact us today to explore our comprehensive range of commercial-grade kitchen sink solutions, designed for lasting performance and value.